However, it's a good one. A tutorial of my own! And shoes. How can you go wrong with that, right?
Fabric-covered Shoes. With the green box around it.


Supplies:
Mod Podge
Fabric
Shoes...duh!
Paint brush
Wax paper
First thing: remove those cute little bows (keep them if you want, so you can attach clips to the back and clip them on your shoes when you want)
Those bows were sewn on, so I had to make sure to remove every little string that was left over so there weren't any bumps.
Other tutorials may not have you do this and I may be kind of weird for doing it, but I decided to use some wax paper to make myself a template to cut out the fabric.
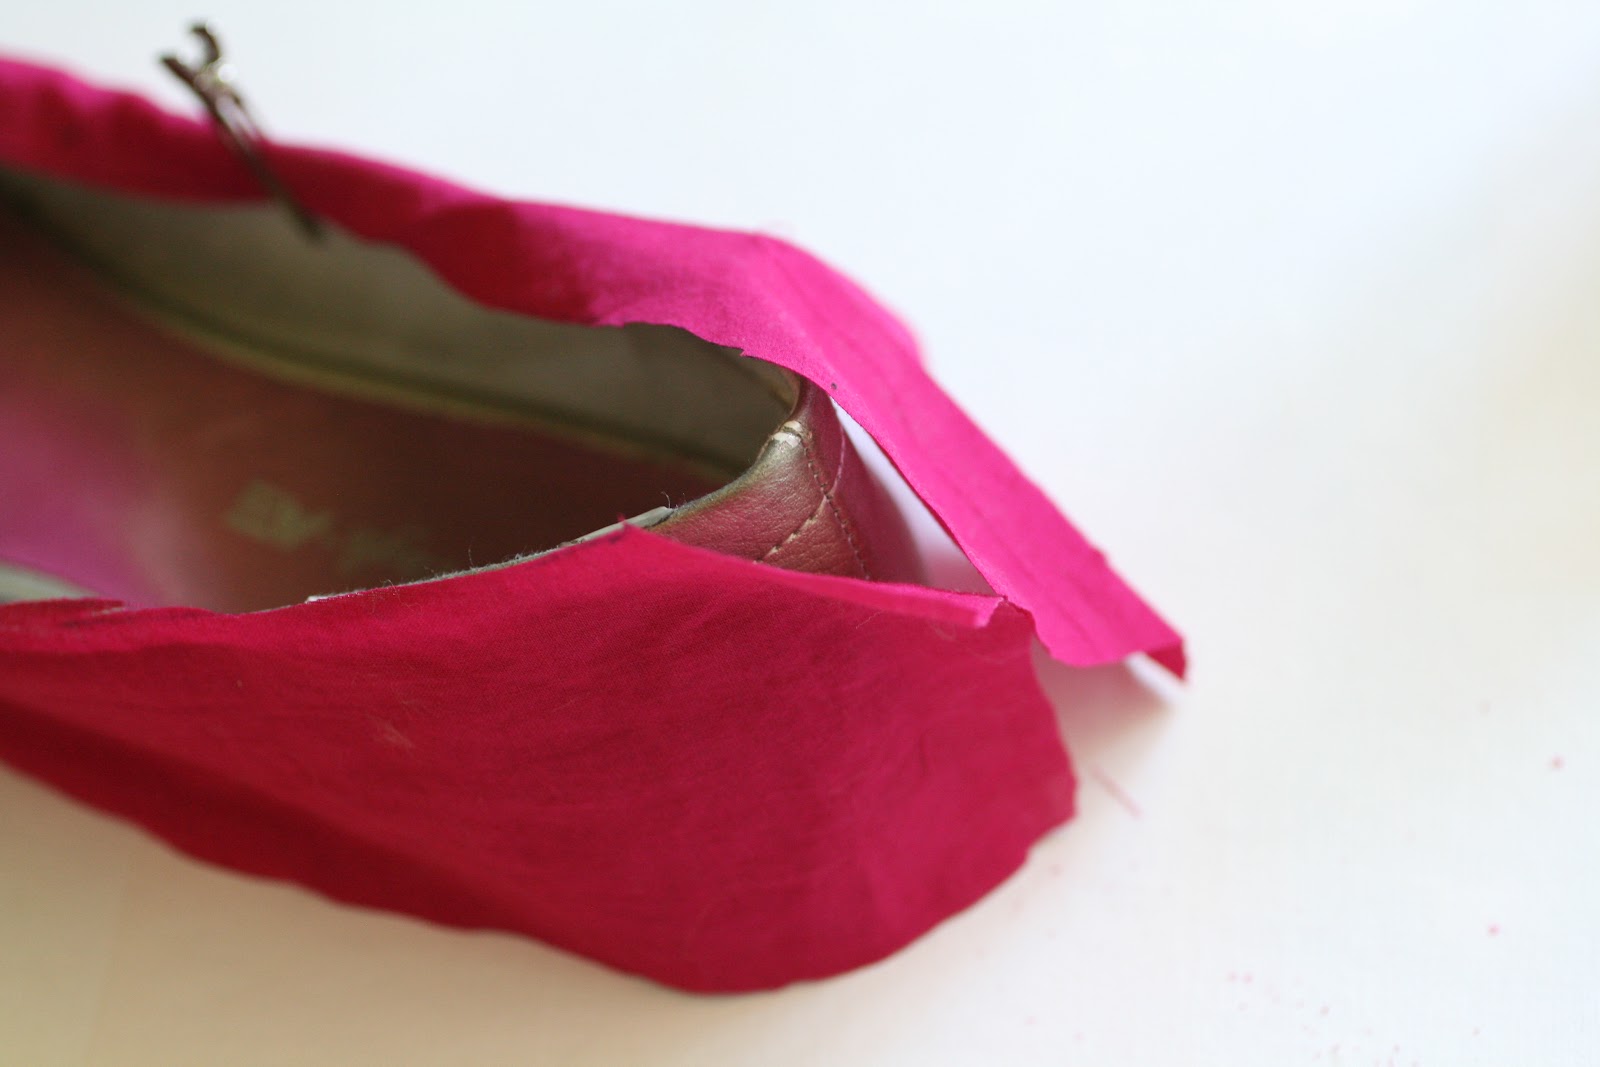
I wrapped the shoe with the wax paper and traced the outline of the shoe with a Sharpie. Then cut out the template.
Then I laid the wax paper template on the fabric and cut the fabric.
When I traced the shoe on the wax paper I was sure to make it a little bigger just in case.
I used some clips to hold the fabic on the shoes while I glued it.
The back was a little hard to trace so you kind of have to work with it when you put the fabric on. But first cut through the middle then go from there.
Start painting on that Mod Podge. **Note: when I read another tutorial to get an idea how to do this she said not to glue the whole thing, but to only glue the edges so you don't have dark spots from where the glue bled through the fabric (more on this later)**
When you get to the back, trim the fabric to about 1/2 in over the back seam on the shoe. Then glue one side down, and with the other side make about 1/4 in seam then glue down (very hard to describe).
Now, trim the fabric around the edges and the sole.
I used these nifty, tiny scissors to trim the edges of the fabric.
Ok, here's where my previous note comes in. See those icky dark spots?! Yeah, annoying. Because my intention was to just glue on the fabric and be done with it. **I did this with my grandma onto a pair of Keds, but I guess because we used dark purple polka dot fabric I didn't notice this happening** So, now what to do? Well, I decided to just paint Mod Podge on the entire shoe, even though it's not the look I wanted it does make them more weather-proof.
And once it dries you can no longer see dark spots.
I also cut out a little piece of fabric to put in the toe, so it completed the whole shoe.
And there you have it! I went from shoes I never wore to shoes that add a nice pop of color. I wore them on Sunday with a black and white gingham skirt I made and white shirt. They looked so cute!