Pages

Tuesday, July 24, 2012

Solo Apple Crisp

I'm house-sitting for a few days and brought an apple with me.  I found some oatmeal and sugar and butter, and decided to make an apple crisp.

Solo Apple Crisp:
1 Gala apple, chopped (or whatever kind of apple you prefer Gala are my favorite)
2 tbsp of butter
1/4 cup oatmeal
2 tbsp of sugar (I used raw sugar because that's all I could find, but you can use white or brown sugar too)

Melt 1 tbsp of butter in a saucepan.  Add apple pieces.  I let them cook a little, almost frying them to get a different flavor.  Sprinkle in 1 tbsp of sugar and mix well, and keep an eye on it so it doesn't get too brown (however, the butter should keep the sugar from burning).  While your apples cook, mix together remaining sugar and butter with the oatmeal.  When apples are soft, pour the mixture into a small baking dish.  Sprinkle oatmeal mixture over the top.  Bake at 350 for 10 minutes, just to brown the oat topping.  Then enjoy!


Pin It!

Friday, July 13, 2012

Future Project Friday: Crocheted Amigurumi Cacti

I actually remembered about "Future Project Friday" today!  Aren't you all proud?!

{the one with the purple box}

My friend, Sunnie, who lives in Ohio asked me to crochet her some little cacti she found on Pinterest.  The ones in the photo have little faces, which I left out on the ones for her- neither of us liked them.

They were a lot of work, but totally worth it.


Sunnie sent me a photo of them in the little pots she bought, but I can't find it.  Anyway, aren't they cute?!  I love them.  I may make more, but they were pretty tedious so we'll see.

Have a good Friday!
Pin It!

Wednesday, July 11, 2012

A small feature on a BIG blog!

So, I'm sure you all know I participated for the first time in the Handmade Gift Exchange over at Craftaholics Anonymous

Anyway, she had a "linky party" where she invited all the participants to link up their gifts and they'd be featured on her blog with a bunch of others.  So, I did that.  It was kind of cool to see mine listed on there.

But, this takes the cake!  I was looking through her blog today and I saw she posted some photos with links of some of the gifts.  And mine was there!

handmade gift ideas

How cool, right?

Maybe, I'm just a little too excited about this.  But tons of people read her blog and not many read mine.  At least, I don't think many do (if people do, then you can follow me or at least make me aware of your loyalty :)

I can't wait for the next exchange.  I still need to wear the necklace I received but I'm sure I will.
Pin It!

Tuesday, July 10, 2012

Future Project Friday... a litte late

However, it's a good one.  A tutorial of my own!  And shoes.  How can you go wrong with that, right?

Fabric-covered Shoes.  With the green box around it.


Supplies:
Mod Podge
Fabric
Shoes...duh!
Paint brush
Wax paper


First thing: remove those cute little bows (keep them if you want, so you can attach clips to the back and clip them on your shoes when you want)


Those bows were sewn on, so I had to make sure to remove every little string that was left over so there weren't any bumps.


Other tutorials may not have you do this and I may be kind of weird for doing it, but I decided to use some wax paper to make myself a template to cut out the fabric.


I wrapped the shoe with the wax paper and traced the outline of the shoe with a Sharpie.  Then cut out the template.


Then I laid the wax paper template on the fabric and cut the fabric.


When I traced the shoe on the wax paper I was sure to make it a little bigger just in case.


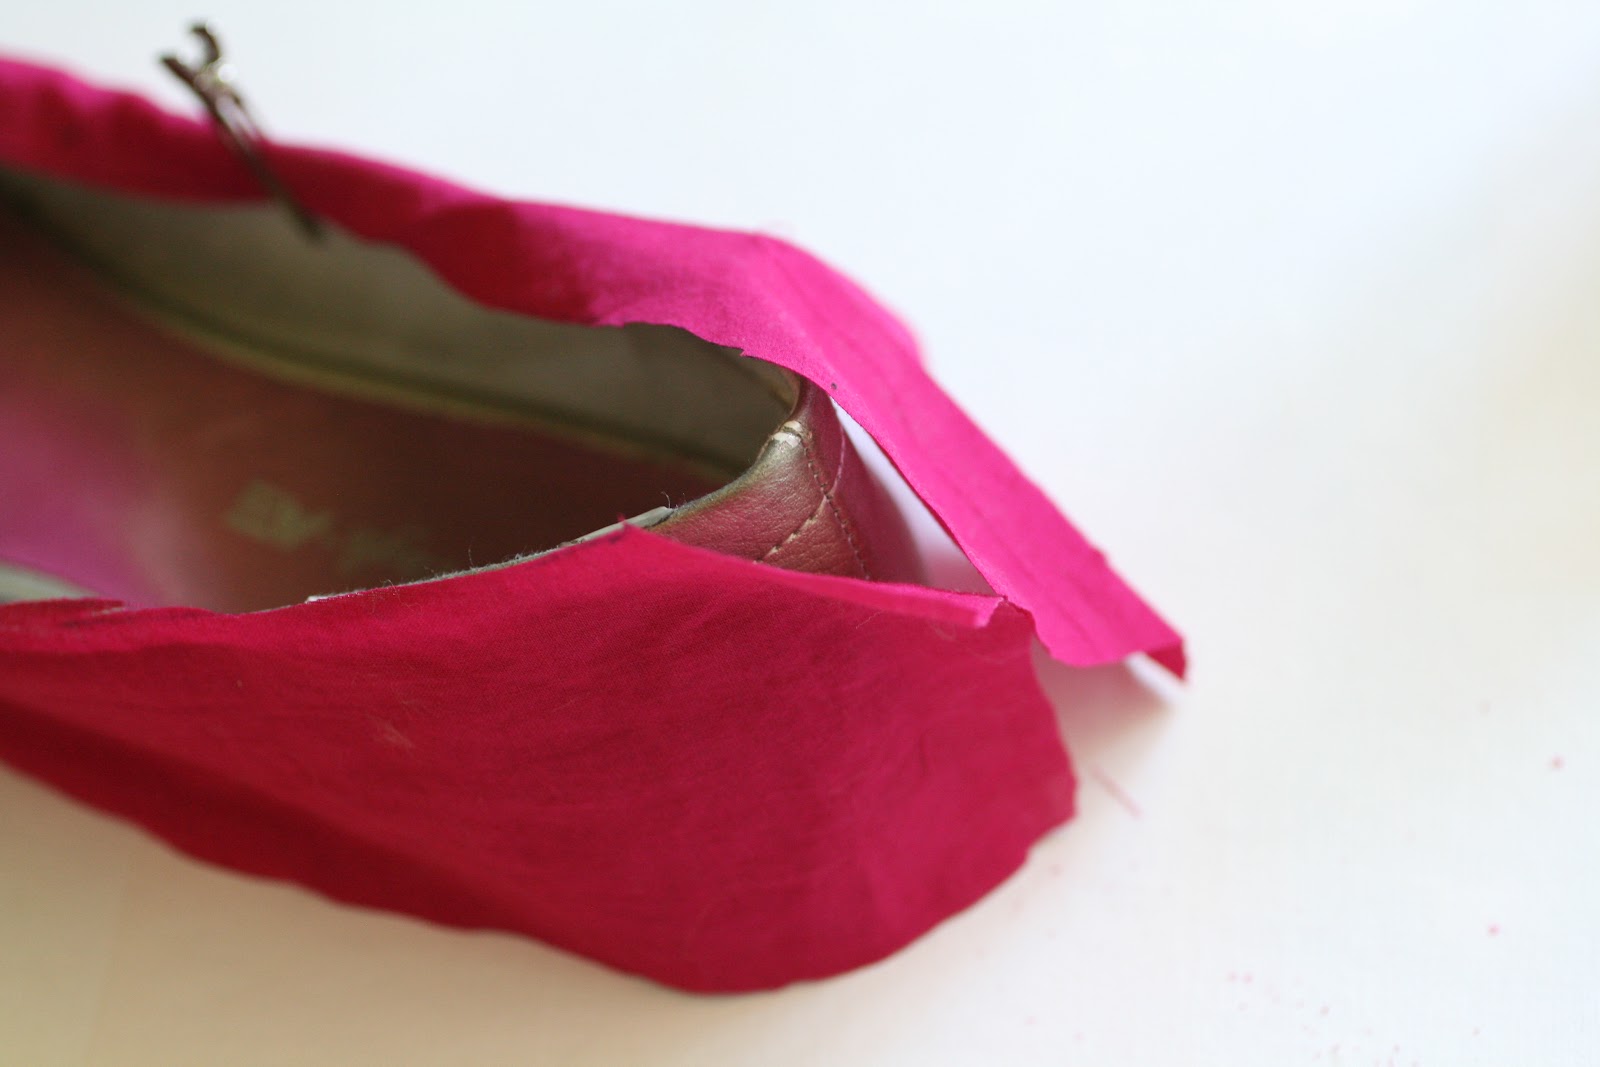
I used some clips to hold the fabic on the shoes while I glued it.


The back was a little hard to trace so you kind of have to work with it when you put the fabric on.  But first cut through the middle then go from there.


Start painting on that Mod Podge. **Note: when I read another tutorial to get an idea how to do this she said not to glue the whole thing, but to only glue the edges so you don't have dark spots from where the glue bled through the fabric (more on this later)**


When you get to the back, trim the fabric to about 1/2 in over the back seam on the shoe.  Then glue one side down, and with the other side make about 1/4 in seam then glue down (very hard to describe).


Now, trim the fabric around the edges and the sole.


I used these nifty, tiny scissors to trim the edges of the fabric.


Ok, here's where my previous note comes in. See those icky dark spots?! Yeah, annoying. Because my intention was to just glue on the fabric and be done with it. **I did this with my grandma onto a pair of Keds, but I guess because we used dark purple polka dot fabric I didn't notice this happening**  So, now what to do?  Well, I decided to just paint Mod Podge on the entire shoe, even though it's not the look I wanted it does make them more weather-proof.


And once it dries you can no longer see dark spots.


I also cut out a little piece of fabric to put in the toe, so it completed the whole shoe.


And there you have it!  I went from shoes I never wore to shoes that add a nice pop of color.  I wore them on Sunday with a black and white gingham skirt I made and white shirt.  They looked so cute!
Pin It!

Monday, July 2, 2012

Cupcake Decorating Party


In a little more than a week I'm going to be having a Cupcake Decorating Party for several little girls.  It's not celebrating anything special, just a party for girls only.  I've been searching on Pinterest for different ideas.  Here's what I've found:


I love the first party, so cute.  And the second is a class but gives me ideas for layout on the table.

I'm going to have the girls make their own stand for their cupcakes too.  Then we'll decorate chocolate and vanilla cupcakes.  Don't judge me, but I plan to buy some frosting.  I'm just not the best at making it, and don't have a lot of time to practice beforehand.  I am going to make the cupcakes.

Found some edible glitter and homemade sprinkles on Pinterest.

Pinned Image

{instructions here}

Pinned Image


I'm also going to make some little favors for the girls with some hair flowers I've made, and maybe some little lip glosses or something.

I made these invitations:


So, the decorations are going to be colorful and fun.

I can't wait.  I'll be sure to post photos of the girls and I hope they all have fun, I know I will.

Pin It!