Pages

Showing posts with label fabric. Show all posts

Friday, October 19, 2012

Keep On Crafting

In my previous post, I told you guys I haven't been doing much crafting because a lot of my supplies and tools have been packed away.  Well, I realized that's not entirely true lol.

All Instagram pics.

 
Tshirt scarf I made for a coworker.


Bottle top coaster I made for my brother-in-law's "man cave"


New wreath for the front door (this form as been recycled a few times) and this will be moved to my new place too :)
Pin It!

Monday, September 3, 2012

DIY Home Organization Binder

I got this idea the other day, probably from something I saw on Pinterest, to make a Home Organization Binder.  I mostly wanted it to see a budget on paper, instead of jotted on a small calendar or spread out through various websites and emails from the bills.  Then I kept digging and I came up with quite a bit.  I'll list as many links as I can at the bottom of this post if you want to grab some of the printables yourself.


I covered the outside of a crappy old binder by, first, covering it with light colored paper (a large sheet kind of like tissue but thicker) so the black of the binder wouldn't show through.  Then I spray glued on the fabric.  Then glued on the ribbon.


In covering the inside with fabric, and then paper I covered up the pocket where I had put the pens, so I had to fix that.  I have a black pen, a pencil, a highlighter, and a colored pen.  And I glued on a clip for extra paper.


I didn't have any tab pages, so I just printed some plain titles for each page and put them in page covers.  First tab- schedule.


Second- finances.


My budget pages will seriously come in handy.


Third- shopping.


Four- housework.  Yes, I needed a schedule.  I'm terrible.


Fifth- lists.  This includes "to-do lists" and a media inventory list, which I filled out today and I have 70 DVDs, who knew?!


I perforated my "to-do lists" so I can easily tear them off.


Sixth- food.  I have a stock-pile list, and then some recipe pages.


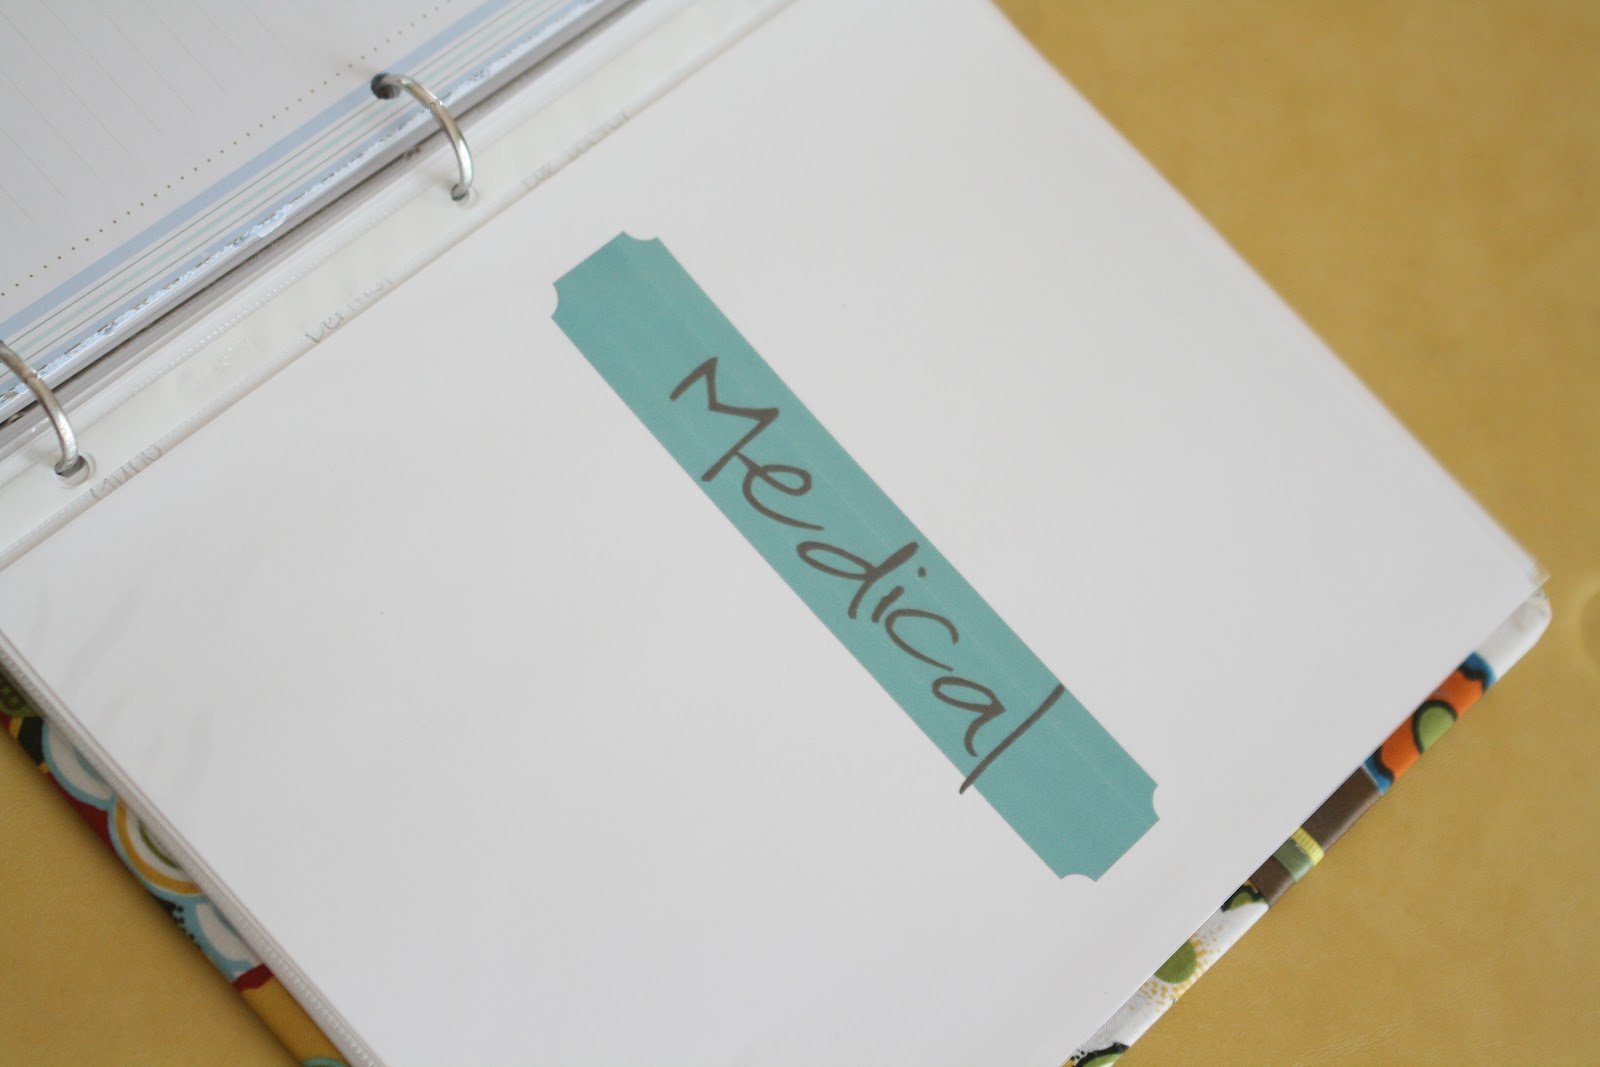
Seventh- Medical for Dr's names, addresses, and numbers.  And space for notes in case I need it.


Eigth- Etsy.  It's an online income list for my store.


Ninth- WWW.  It's a list of all my usernames and passwords for various websites.


Tenth- ideas.  A sheet to list ideas and supplies needed for them.


Eleventh- Blog.  I found these printables to plan out my block each week.

I'm hoping this will help me stay organized, especially with the important things.  Let me know if you make one of your own with any cool ideas.  I'd love to see them!

Links:
Cleaning Schedule @ Evelyn Kate Designs
Blog Calendar @ Living Locurto
I got most of the tab ideas @ DIY Home Sweet Home
Stockpile List and What's In Season Calendars (schedule tab) @ About.com Frugal Living
 
Contact Info page for Medical @ I Love it All
Media Inventory List @ Pinch a Little Save a Lot
Monthly Budget @ SissyPrint
Binder Covering Tutorial @ The Creative Place
Blank Checklist (shopping list) and Online Shop Inventory List @ The Nest Effect

I think that's it!  I makes for quite the hodge podge of designs on the pages, but printing them from someone else saved me a lot of time.

Enjoy!
Pin It!

Tuesday, July 10, 2012

Future Project Friday... a litte late

However, it's a good one.  A tutorial of my own!  And shoes.  How can you go wrong with that, right?

Fabric-covered Shoes.  With the green box around it.


Supplies:
Mod Podge
Fabric
Shoes...duh!
Paint brush
Wax paper


First thing: remove those cute little bows (keep them if you want, so you can attach clips to the back and clip them on your shoes when you want)


Those bows were sewn on, so I had to make sure to remove every little string that was left over so there weren't any bumps.


Other tutorials may not have you do this and I may be kind of weird for doing it, but I decided to use some wax paper to make myself a template to cut out the fabric.


I wrapped the shoe with the wax paper and traced the outline of the shoe with a Sharpie.  Then cut out the template.


Then I laid the wax paper template on the fabric and cut the fabric.


When I traced the shoe on the wax paper I was sure to make it a little bigger just in case.


I used some clips to hold the fabic on the shoes while I glued it.


The back was a little hard to trace so you kind of have to work with it when you put the fabric on.  But first cut through the middle then go from there.


Start painting on that Mod Podge. **Note: when I read another tutorial to get an idea how to do this she said not to glue the whole thing, but to only glue the edges so you don't have dark spots from where the glue bled through the fabric (more on this later)**


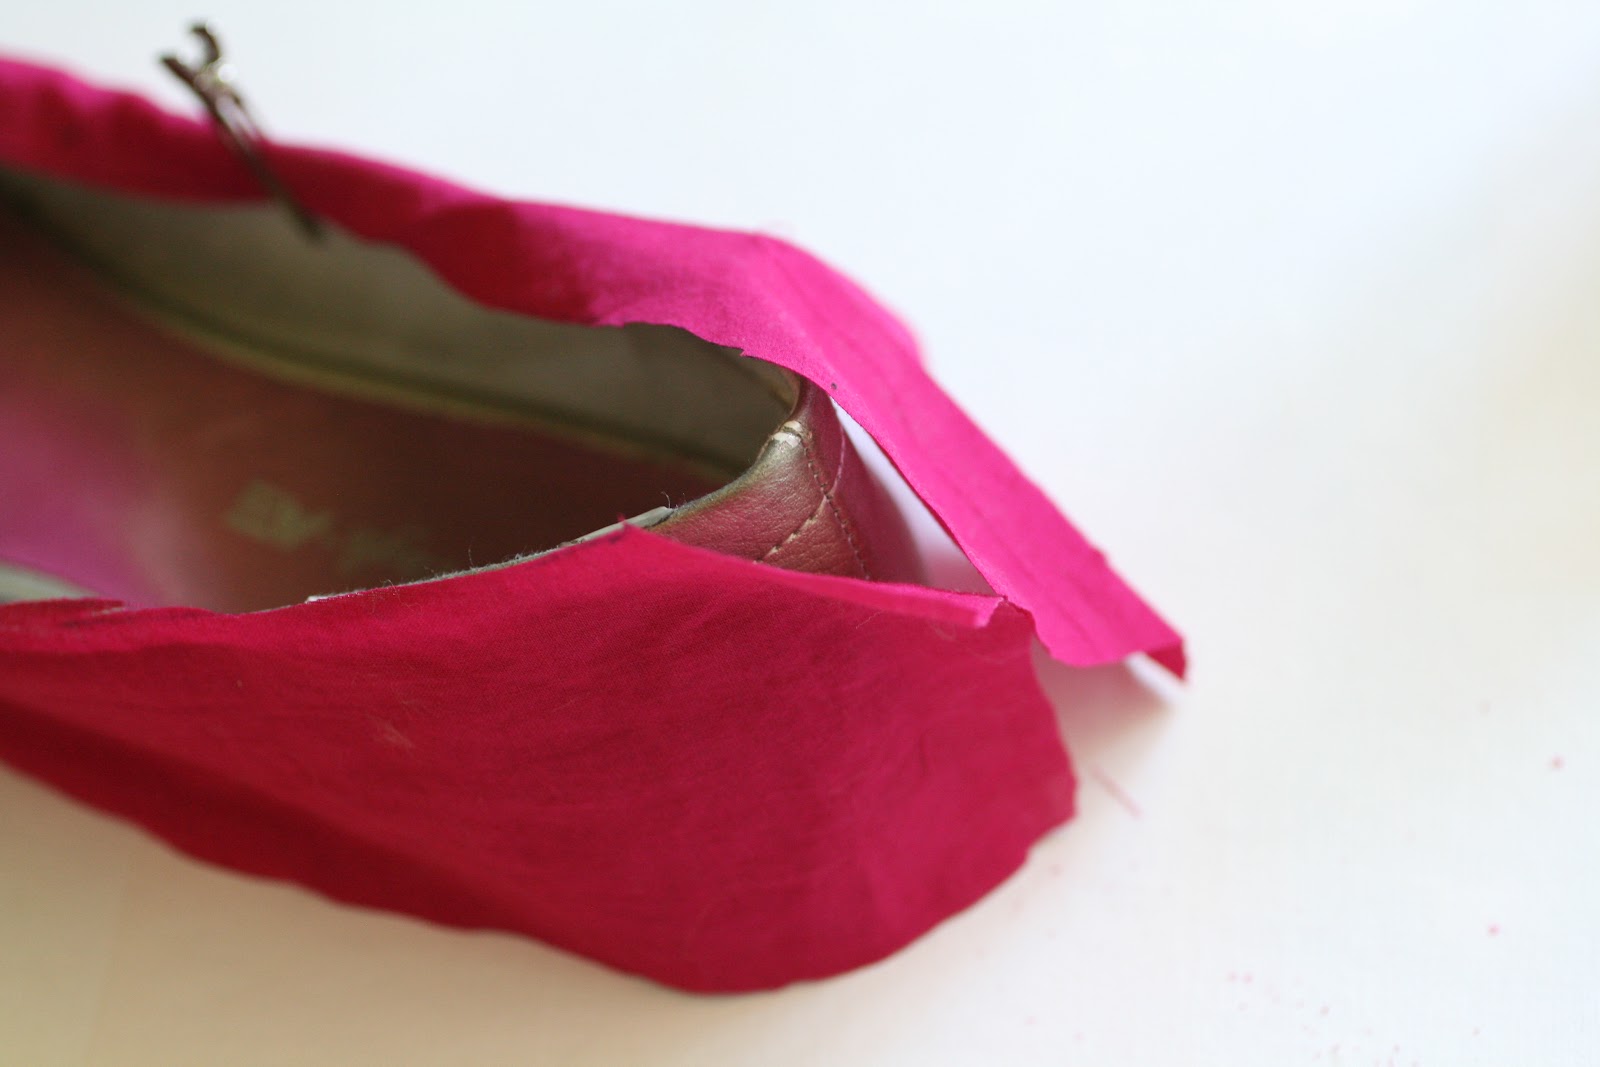
When you get to the back, trim the fabric to about 1/2 in over the back seam on the shoe.  Then glue one side down, and with the other side make about 1/4 in seam then glue down (very hard to describe).


Now, trim the fabric around the edges and the sole.


I used these nifty, tiny scissors to trim the edges of the fabric.


Ok, here's where my previous note comes in. See those icky dark spots?! Yeah, annoying. Because my intention was to just glue on the fabric and be done with it. **I did this with my grandma onto a pair of Keds, but I guess because we used dark purple polka dot fabric I didn't notice this happening**  So, now what to do?  Well, I decided to just paint Mod Podge on the entire shoe, even though it's not the look I wanted it does make them more weather-proof.


And once it dries you can no longer see dark spots.


I also cut out a little piece of fabric to put in the toe, so it completed the whole shoe.


And there you have it!  I went from shoes I never wore to shoes that add a nice pop of color.  I wore them on Sunday with a black and white gingham skirt I made and white shirt.  They looked so cute!
Pin It!

Tuesday, May 1, 2012

Living Room Craft Nook

I posted a photo collage of some of the things I had made for my craft nook.  I had to give you a little sneek peak of what was to come.  Well, now it's all finished!


The table on the left is dedicated to Nan's scrapbooking, which she frequently uses. 

Then on the right are my sewing things.  I have a Serger and sewing machine. 

Then the cart on the right I got from Ikea and it has all of my fabric wrapped around cardboard to make it look like the bolts of fabric found in the stores (and it's a lot easier to find stuff). 

The boxes under the table on the right have paint, ribbon spools, and other odds and ends. 

Then there's the cake tin stand I made

And on the left side of the table is the lamp I made

On the shelf above the table are jars full of buttons as well as the bottles I wrapped with yarn

Then there's the tie rack I repurposed into a spool rack. 

And the embroidery hoops with various fabrics.  And the "S" is all buttons, and appropriate since my name is Sarah and Nan's is Shirlee.

I think that's it.  I haven't sat there in a while, since I've been making a lot of crocheted baby items, which I can make watching TV.  But I will get back to it sometime.
Pin It!

Sunday, April 29, 2012

Striped Skirt

I bought this gray and white striped jersey fabric at Hobby Lobby a few weeks ago and decided to use it for a skirt.  It's so soft and comfortable.  However, a slip is required since the fabric is a little see-through.  I also decided to place the fabric on a diagonal for something different.  I'm a big girl and I'm not sure normal stripes would look good.  I didn't want to buy a pattern for the skirt either, so I decided to take a skirt I love and use it as my pattern.


I was a little nervous about how it would work, but...


it did!  And I love it.  It's so comfy.  I wore it for the first time not too long ago and it's great.  Except I don't have a lot of shirts to go with it.  Oh darn, I may have to go shopping :)

Pin It!

Wednesday, April 25, 2012

Goodwill Finds Before and After [2]

I showed you what I made with the cake pans and candle stick.  Now, how about the lamp and lampshade?  Well, yes, I did put them together, but it's not that simple.


Well, red isn't really my color.  So, I changed it a little ;)

 All I did was tear off all of the red fabric and inside fabric to get down to the wire frame.  **This only works with a lampshade that has wire connecting the top and bottom.  If you don't have that then it will pretty much just fall apart and be useless**

Then I cut a bunch of small strips of fabric then tied them onto the frame.  Easy easy!

Again, this is something I put in my craft/sewing nook. 
Pin It!

Tuesday, February 14, 2012

A Month of Craft Photos: Day 2

Day 2:  Craft Tools

I actually use quite a bit, but these are just a few.  A 6 mm crochet hook, scissors, rotary cutter, a hot glue gun, and a measuring tape.  I probably use these the most.  The rotary cutter is a sewer's best friend.  I love that thing.

Stay tuned for tomorrow's: An Old FO (ok, I was trying to figure out what FO was and the best I could come up with was finished object?!  not too sure.)
Pin It!

Sunday, January 22, 2012

DIY Kindle Touch Sleeve

I recently bought a Kindle Touch.  I love it.  I've never been a big reader until recently (no, not just because I bought the Kindle).  I mostly have classics on my Kindle right now, like Jane Austen novels, Sherlock Holmes, Legends of King Arthur.  I also have a couple of others.  I love that  you can download samples and read a few chapters before you buy the book.  If you don't have a Kindle, check them out.  You can get one for as little as $79.

Anyway, I made this cute sleeve for my Kindle.  I sewed it by hand because my sewing machine is put away and there's just no room to set it up in our condo right now.


I don't have an exact tutorial, but it's really easy without one.

Cut two pieces of felt about 1/4" (if you're going to sew this with a sewing machine you may need a 1/2" for more of a seam allowance) wider and longer than your Kindle (or iPad, phone, camera- it could work for anything). Then sew together all the edges except the top.  Cut a 3" x 1" strip of another colored felt.  Then cute four circles of felt (getting progressively smaller).  Center the strip of felt in the middle on one side the opening.  Sew the strip so when you close it you won't see the seam (does that make sense?) Then sew a button onto the pouch and cut a slip in the flap to go around the button.  Then sew on your circles with a small crossing stitch in the middle.

I hope that made sense.  If you need some more details or better photos send a message.

Try to make yourself one and let me know how it goes!
Pin It!

Sunday, December 18, 2011

A Terrible Blogger

I have to say that I am the worst blogger.  I will post a few at a time then I get busy, or just distracted and I forget about my blog.  Well, I have been busy.  Working A LOT!  And just getting acclimated to California.  I have been crafting, though.  Not really creating tutorials, though.  I apologize for that.  Here's what I've been up to:


Shadow box I made from a vintage flour bag, measuring cups, and measuring spoons I bought at Granny's Attic in Temecula.  That place is huge and I think I spent 2 hours there but I could have spent all day there.


I bought this crate at the Habitat for Humanity Restore in Temecula.  It was made there I think from random pieces of wood.  Then I spary painted it black, and then I brushed on some blue paint and it kind of gave it an antique look.  Great place for shoes.  I'm not a fan of shoes around the house.


Our condo was built in the 70's so not everything is very energy-efficient including the fireplace.  There's a breeze that comes through the fireplace (notice how the cover is bulged out).  And so it's freezing in our living room.  So I made this cover to help block the cold.  I put fleece on the inside and some velcro on the edges to secure it.  I plan to put some beans in the top skinny part to make it even more secure.


This is Angel.  And this is the doggy cape I made her.  She doesn't like it much.  But she's warm.  And it's better than the sweater Nan would put on her where she had to put her legs through it.  I'd like it if I had one lol


I bought this tea towel at the dollar store for... $1 lol.  Then I ruffled the fabric and sewed it on.  Cheap cheap.  There's another one I have to do but it takes a lot of time and patience to sew ruffles that small, so I'll get to it some time.


My favorite project so far.  A new wreath for the front door.  I wanted something winter-y.  I bought a wreath form, wrapped it in white fabric I got from the remnant bin, then made a flower from a grey cordoroy fabric I got from the remnany bin and used that for the strips around the wreath, and then I bought some little sparkly sticks, like filler for bouquets (I don't know what you call them).  I love it.

So, that's what I've been up to when it comes to my crafts and sewing.  I really haven't been baking although I think I might make some cupcakes or something today.  I'll try to keep you posted.
Pin It!